To submit A2P 10DLC registration in GoHighLevel, open Settings → Phone Numbers → Trust Center in the sub-account, complete Brand registration, complete Campaign registration once the Brand is approved, then link the approved campaign to your sending number. GoHighLevel doesn’t make you touch the Twilio console directly — it wraps A2P 10DLC registration in its own Trust Center interface. That’s more convenient than working with raw Twilio, but the field-level details still matter just as much, and the interface’s simplicity can actually work against you if you rush through it assuming a shorter form means less scrutiny on the carrier side. This is the exact sequence, field by field, along with the mistakes that most commonly cause a rejection or a silent delivery failure after “approval.”
If you haven’t yet, it’s worth reading our what is A2P 10DLC guide first for the underlying concepts this walkthrough assumes you already understand.
2 forms
Brand registration, then Campaign registration — completed in sequence
1 sub-account
Each GoHighLevel sub-account needs its own separate registration
1 extra step
Linking the approved campaign to your actual sending number
What do you need before submitting A2P 10DLC in GoHighLevel?
Before submitting A2P 10DLC in GoHighLevel, you need your exact legal business name, EIN (or SSN for Sole Proprietor), registered address, a live website, a privacy policy link, an opt-in description, and 2–3 sample messages.
Having every piece of information ready before you open the Trust Center avoids the most common cause of delay — starting the form, realizing you’re missing something, and submitting an incomplete or rushed entry under time pressure.
- Legal business name — exactly as it appears on your EIN documentation, not a DBA or shortened version
- EIN (or SSN if registering as a Sole Proprietor — see our Sole Proprietor guide if you don’t have a formal business entity)
- Registered business address — matching official records
- Business website URL — live and publicly accessible, not under construction (if you don’t have one yet, a done-for-you website package solves this before you register)
- A public link to your privacy policy — specifically one that addresses SMS data usage
- A clear description of your opt-in method — how contacts actually consent to receive texts (a checked box on a form, a verbal opt-in during a call, an existing customer relationship, etc.)
- 2–3 realistic sample messages — actual examples of what you’ll send, not generic placeholders
GoHighLevel A2P 10DLC submission at a glance
| Step | Where / what | Typical time |
|---|---|---|
| 1. Open the Trust Center | Settings → Phone Numbers → Trust Center, inside the sub-account | Instant |
| 2. Brand registration | Standard (EIN) or Sole Proprietor (SSN); legal details must match official records | Often minutes; up to ~1 day |
| 3. Campaign registration | Use case, 2–3 sample messages, opt-in description and link (Manual or Chat Widget) | 1–5 business days (Manual) |
| 4. Link campaign to number | Attach the approved campaign to each sending number | Instant, but a manual step |
Step 1: Open the Trust Center
Inside the relevant sub-account, go to Settings → Phone Numbers → Trust Center. This is where both Brand and Campaign registration live, and where you’ll return later to check status or fix a rejected submission (HighLevel Support, A2P Campaign Registration step-by-step guide).
Step 2: Complete Brand registration
Select your brand type — Standard (requires an EIN) or Sole Proprietor (SSN-based, for individuals/no formal entity) — then fill in your legal business details exactly as they appear on your official records.
This is the single highest-leverage field-accuracy step in the entire process. A legal name, EIN, or address that doesn’t exactly match your official tax filing is the most common cause of Brand rejection — and a rejected Brand blocks Campaign registration entirely, since you can’t register a campaign under an unapproved brand.
Once submitted, Brand review is often fast — frequently within minutes for a clean, accurate submission, though it can take longer if anything requires manual carrier review.
Step 3: Complete Campaign registration
As of 2026, GoHighLevel’s Trust Center now defaults new Campaign registrations to the Chat Widget (Pre-Built) flow the moment your Brand is approved, rather than dropping you straight into the manual form described below. A “Switch to manual setup” link lets you use the traditional path instead — this section covers Manual Setup; the widget-based alternative (often faster to approve, but with real eligibility restrictions) is covered in its own section right after this one (HighLevel Changelog, New A2P Campaign Flow: Default to Chat Widget).
Once your Brand shows as approved, start Campaign registration under the same Trust Center screen. This is where you’ll select:
Use case — the category that best matches what you actually send (customer care, appointment/reminder notifications, mixed, marketing, etc.). Picking the closest accurate match matters more than picking the one with the fewest restrictions — a mismatch between your declared use case and your actual message content is a rejection risk down the line, not just at initial review.
Sample messages — write 2–3 realistic examples that reflect your actual sending patterns, including any opt-out language you include (e.g., “Reply STOP to unsubscribe”).
Opt-in description and link — describe exactly how contacts consent to receive your texts, and link to where that opt-in actually happens (your form, your booking flow, etc.).
Sample messages
- Do this
- Realistic, specific examples
- Don't do this
- Generic placeholder text
Use case selection
- Do this
- Closest accurate match to real traffic
- Don't do this
- Whichever seems least restrictive
Opt-in description
- Do this
- Matches your actual website/form flow
- Don't do this
- Vague or copied boilerplate
Message links
- Do this
- Full, unshortened URLs
- Don't do this
- bit.ly / tinyurl-style shorteners
| Do this | Don't do this | |
|---|---|---|
| Sample messages | Realistic, specific examples | Generic placeholder text |
| Use case selection | Closest accurate match to real traffic | Whichever seems least restrictive |
| Opt-in description | Matches your actual website/form flow | Vague or copied boilerplate |
| Message links | Full, unshortened URLs | bit.ly / tinyurl-style shorteners |
Campaign review is the step where most submissions actually fail. Twilio’s own documentation, which underlies GoHighLevel’s Trust Center, states plainly that “most application failures occur” at this stage (Twilio, A2P 10DLC Campaign Registration) — review is typically completed within a handful of business days for a clean submission.
Step 4: Link the approved campaign to your number
This step is easy to miss, and it’s the reason some accounts show an “approved” campaign while SMS still silently fails to send. Once your campaign is approved, you have to explicitly associate it with the specific phone number(s) that will actually send messages — approval alone doesn’t automatically wire that connection for you.
If you’ve confirmed both Brand and Campaign show as approved but messages still aren’t delivering, this linking step — not a new registration issue — is the first thing to check. Go back into Trust Center and confirm the sending number is explicitly attached to the approved campaign.
The Chat Widget (Pre-Built) path, step by step
This is the alternative to everything described in Step 3 above — instead of writing your own sample messages and opt-in description, GoHighLevel auto-generates all of it for you, on the condition that your website’s chat widget becomes your only SMS opt-in method. Here’s the actual flow (HighLevel Support, Pre-Built A2P Campaign Registration with Chat Widget):
- Navigate to Settings → Phone Numbers → A2P Messaging Registration.
- Select Pre-built campaign (Chat Widget).
- Choose your message type: Marketing/Promotional, Transactional, or Mixed (Mixed shows a separate consent checkbox for each type). The use case is set automatically — for example Low Volume Mixed for standard accounts, or Sole Proprietor if GoHighLevel detects a Sole Proprietor account.
- Answer a short questionnaire about what your campaign actually sends.
- Preview the widget — you can customize colors and header text only; the disclosure copy itself is locked.
- Complete the website compliance checklist: live site, published terms and privacy policy, visible business contact information, and no affiliate/lead-buying language anywhere on the site.
- Review the Consent Review screen — every field here is non-editable by design, which is exactly what makes carrier review faster.
- Install the JavaScript embed code on your website, and confirm the widget is genuinely live.
- Monitor status under Campaigns → Status.
The single most important requirement: remove any SMS consent checkbox from every other form on your site — contact forms, lead-capture forms, appointment forms. Carriers require the chat widget to be the only place collecting SMS consent; leaving a checkbox anywhere else, even on a form you rarely use, is a documented rejection trigger for this specific path (HighLevel Changelog).
Who’s eligible: Standard and Sole Proprietor accounts sending Marketing/Promotional, Transactional, or Mixed messages — older guidance saying this path excludes Mixed campaigns or Sole Proprietor brands is outdated (HighLevel changelog: Sole Proprietor support; HighLevel changelog: Mixed use case support). Who should use Manual Setup instead: anyone who can’t make the chat widget their only SMS consent point or needs custom sample messages and disclosure wording (covered in Steps 1–4 above). GoHighLevel’s system also blocks combining Marketing with financial-services content outright, and auto-enforces a mandatory Date of Birth field whenever your campaign involves age-gated or financial content.
Typical approval time
- Manual Setup
- 1–5 business days
- Chat Widget (Pre-Built)
- Under 48 hrs stated; plan for ~2–4 days
You write sample messages
- Manual Setup
- Chat Widget (Pre-Built)
Editable disclosure language
- Manual Setup
- Chat Widget (Pre-Built)
Available for Mixed messaging
- Manual Setup
- Chat Widget (Pre-Built)
Available for Sole Proprietor
- Manual Setup
- Chat Widget (Pre-Built)
SMS consent checkboxes allowed on other forms
- Manual Setup
- Chat Widget (Pre-Built)
Custom form fields allowed
- Manual Setup
- Chat Widget (Pre-Built)
Campaign cloning allowed
- Manual Setup
- Chat Widget (Pre-Built)
| Manual Setup | Chat Widget (Pre-Built) | |
|---|---|---|
| Typical approval time | 1–5 business days | Under 48 hrs stated; plan for ~2–4 days |
| You write sample messages | ||
| Editable disclosure language | ||
| Available for Mixed messaging | ||
| Available for Sole Proprietor | ||
| SMS consent checkboxes allowed on other forms | ||
| Custom form fields allowed | ||
| Campaign cloning allowed |
Even on this path, don’t skip Step 4 above — confirm the resulting campaign is actually linked to your sending number, and send a real test message before relying on it, the same as you would with Manual Setup.
Choosing Standard vs. Sole Proprietor inside GoHighLevel
The Trust Center asks you to pick a brand type at the very start of Step 2, and this choice shapes everything downstream — it’s worth getting right rather than picking whichever seems faster.
Requires EIN
- Standard Brand
- Sole Proprietor Brand
Uses SSN instead
- Standard Brand
- Sole Proprietor Brand
Campaigns allowed
- Standard Brand
- Multiple
- Sole Proprietor Brand
- 1
Numbers per campaign
- Standard Brand
- Multiple
- Sole Proprietor Brand
- 1
One-time brand fee
- Standard Brand
- $46 (includes vetting)
- Sole Proprietor Brand
- $4.50
Default throughput
- Standard Brand
- Higher, trust-score based
- Sole Proprietor Brand
- Low-volume
| Standard Brand | Sole Proprietor Brand | |
|---|---|---|
| Requires EIN | ||
| Uses SSN instead | ||
| Campaigns allowed | Multiple | 1 |
| Numbers per campaign | Multiple | 1 |
| One-time brand fee | $46 (includes vetting) | $4.50 |
| Default throughput | Higher, trust-score based | Low-volume |
| Item | Value |
|---|---|
| Standard Brand (includes vetting) | 46 |
| Sole Proprietor Brand | 4.5 |
If your business has an EIN, Standard is almost always the right call, even though it costs more up front — the higher default throughput and ability to register multiple campaigns matter as soon as you’re running more than one type of SMS automation (appointment reminders plus review requests plus a nurture sequence, for example). Sole Proprietor makes sense specifically when you don’t have an EIN and don’t want to form a business entity just to send SMS — our dedicated Sole Proprietor guide covers the SSN requirement and the public-email-domain rule that catches a lot of first-time registrants off guard.
How long does A2P 10DLC approval take in GoHighLevel?
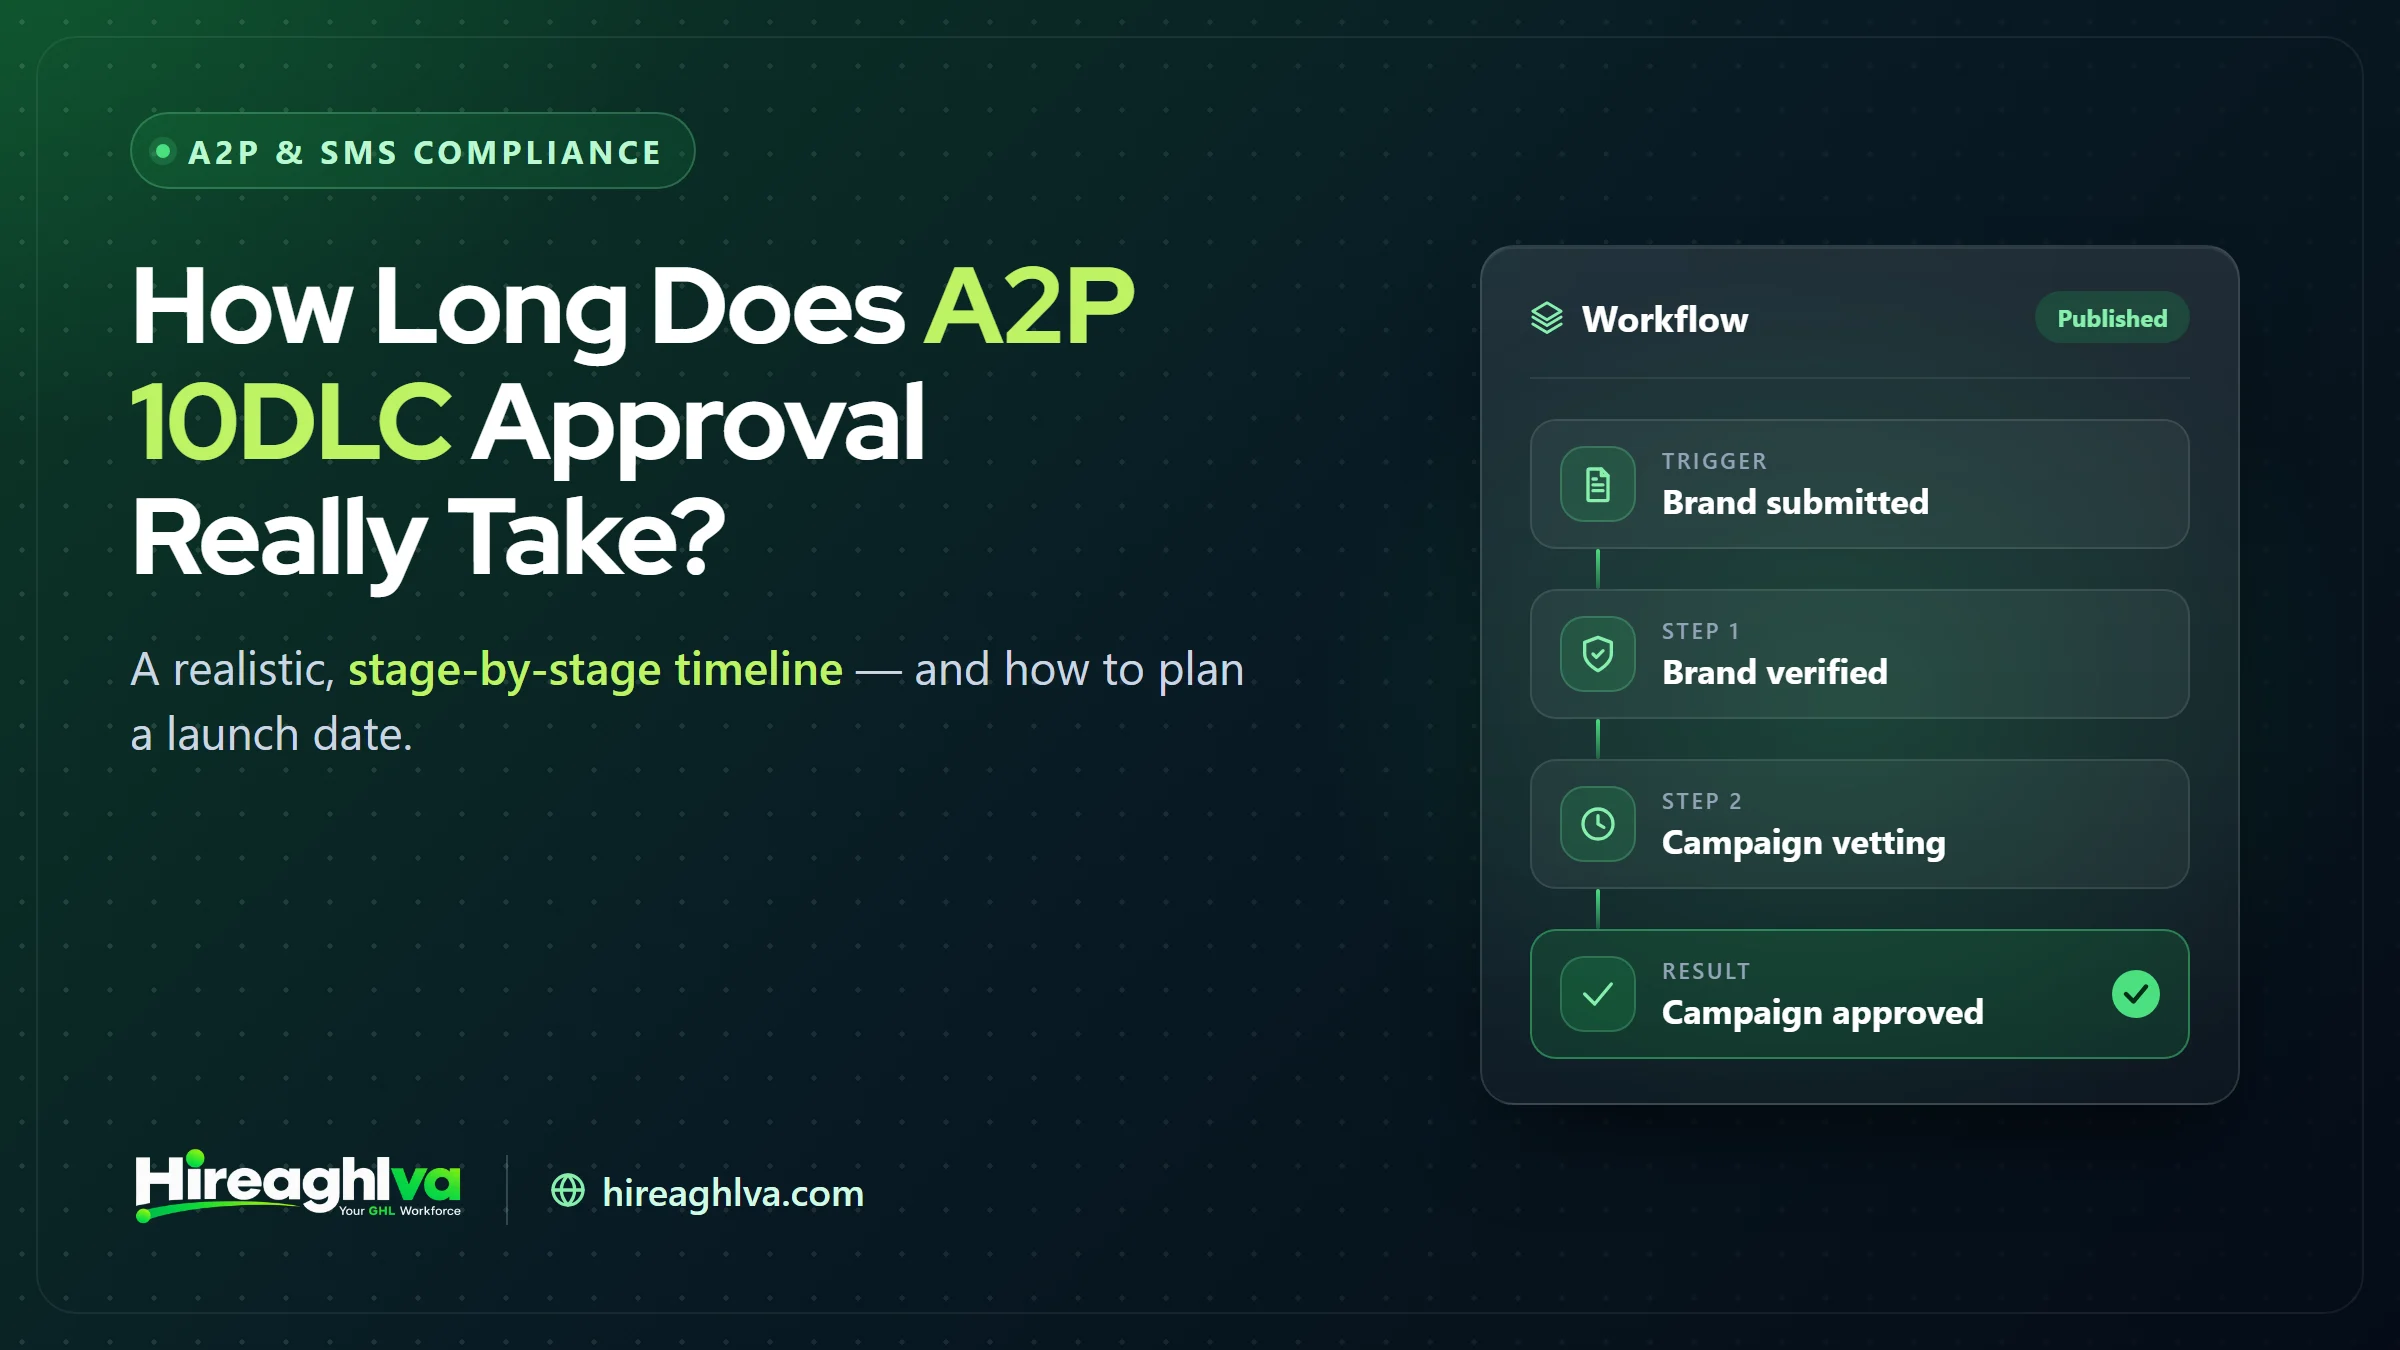
In GoHighLevel, A2P 10DLC Brand registration is often approved within minutes to a day, and Campaign registration typically takes 1–5 business days, so a clean submission usually clears in roughly 2–6 days.
Knowing what to expect at each stage makes the waiting less stressful and helps you plan launch dates realistically:
Day 0
Submit Brand registration with complete, verified details
Day 0–1
Brand typically approved (often within minutes for a clean submission)
Day 1
Submit Campaign registration immediately once Brand is approved
Day 2–6
Campaign typically approved (allow up to several business days)
If a rejection happens at either step, add the time it takes you to correct and resubmit, plus another review cycle — which is exactly why starting registration early in a client’s onboarding, rather than the day before a campaign needs to go live, avoids unnecessary schedule pressure.
Checking registration status at any point
You don’t need to guess or wait for an email notification — Trust Center shows live status for both Brand and Campaign at any time. Go back to Settings → Phone Numbers → Trust Center and you’ll see one of a few states: Pending (still under carrier review, no action needed yet), Approved (cleared, move to the next step), or Rejected (action required — open it to see the specific required fixes). Checking in once a day during an active registration is reasonable; checking every hour won’t speed up carrier-side review.
What to do if a step gets rejected
If either step comes back rejected, resist the urge to delete and start over — editing and resubmitting the same Brand or Campaign is the correct move, and it avoids potentially triggering a second vetting fee. Inside Trust Center, open the rejected item and look for the specific required-fix explanation, then correct every flagged field — not just the one most prominently named — before resubmitting. Our full rejection reasons and fixes guide walks through the specific rejection codes and what each one actually requires you to change.
Field-by-field: exactly what carriers expect to see
A lot of avoidable rejections come down to under-filling fields that technically accept any text but are actually being scored on specificity. Here’s what separates a field that sails through review from one that gets flagged:
Business description. Don’t write “We help customers with their needs.” Write what the business actually does, in plain, specific terms — “Residential plumbing repair and installation services” reads as a real business; vague marketing language reads as a placeholder even when the business behind it is completely legitimate.
Sample messages. Include the actual variable-style content you’ll send, written the way GoHighLevel workflows generate it — e.g., “Hi {{contact.first_name}}, this is a reminder for your appointment with [Business Name] on {{appointment.date}} at {{appointment.time}}. Reply C to confirm or call us to reschedule.” Carriers are looking for realistic structure, not a polished ad.
Opt-in description. State the actual mechanism plainly: “Customers opt in by checking a consent box on our website booking form” or “Customers opt in verbally when scheduling an appointment by phone, and consent is logged in our CRM.” A one-line generic statement without a real mechanism described is a common soft-rejection trigger.
For agencies managing multiple client sub-accounts
If you’re completing this for clients rather than your own business, a few things to keep in mind specifically:
Every sub-account needs its own registration. There’s no agency-level registration that covers every client account underneath it — each client’s business identity has to be registered separately, using that client’s actual legal details.
You need the client’s real information, not the agency’s. Carriers are identifying the business actually sending the messages. Registering under the agency’s EIN for a client’s traffic misrepresents who’s sending — and can create compliance problems down the line if that mismatch is discovered.
Build in a buffer before go-live. If you’re onboarding a new client and SMS automation is part of the plan, start A2P registration in the first days of onboarding, not the day before a campaign is supposed to launch — a rejection cycle can easily add a week or more to the timeline.
Keep a standard onboarding checklist. Agencies registering A2P for many clients benefit from a repeatable intake form — legal name, EIN, address, website, privacy policy link, opt-in method, and 2–3 sample messages, collected from the client before you ever open Trust Center. This alone eliminates the single biggest source of registration delay: starting the form and then waiting on the client to send missing information mid-submission.
A practical agency habit: submit Brand registration the same day a new client signs, even before the rest of onboarding (website build, workflow setup, etc.) is finished. Brand approval has no dependency on anything else being ready, and getting it moving early removes it from the critical path for launch day.
After approval: what to actually watch
Getting approved isn’t the finish line. Carriers continue to monitor sending behavior after your campaign goes live — a spike in message volume that doesn’t match your registered use case, a high opt-out or complaint rate, or content that drifts from your sample messages can all trigger renewed scrutiny, throttling, or even suspension of a previously approved campaign. Building sustainable sending habits — consistent volume, honoring opt-outs immediately, keeping content aligned with what you registered — protects the approval you just worked to get.
A few specific, practical habits worth building into any GoHighLevel workflow that sends A2P messages (or that our automation and workflow build-out service builds in by default): cap batch-send sizes so a large contact list doesn’t fire all at once, space automated sequences out rather than firing multiple texts back-to-back, and periodically audit your workflows against your registered sample messages to make sure what’s actually sending still matches what you told carriers you’d send.
Special cases: rebrands, new numbers, and multiple brands
Your business legally rebranded or changed its name. Update your Brand registration to match — don’t just start a new Campaign under the old, now-inaccurate Brand details. An outdated legal name on file is exactly the kind of mismatch that can trigger renewed scrutiny even on a previously approved registration.
You’re adding a second phone number to an already-approved sub-account. A new number needs to be explicitly linked to an existing approved campaign (or a new one, if it’s for a different use case) — it doesn’t inherit approval automatically just by existing in the same sub-account.
You manage genuinely separate businesses that happen to share an owner. Each distinct legal business entity generally needs its own Brand registration, even if the same person owns both — carriers are registering the business identity behind the traffic, not the individual account holder.
Testing your setup before you rely on it
Once your number is linked to an approved campaign, don’t assume it works just because Trust Center shows every status as green — test it directly. Send a real SMS from the sub-account to a personal phone on a different carrier than your own (ideally covering AT&T, T-Mobile, and Verizon between a couple of test devices, since carrier-side filtering can behave slightly differently across networks), and confirm it arrives promptly and with the content intact.
If a test message doesn’t arrive within a minute or two, check three things in order: first, that the campaign status is genuinely “Approved” and not still “Pending”; second, that the specific number you’re sending from is the one actually linked to that campaign (easy to get wrong if a sub-account has more than one number); third, that the workflow or manual send isn’t using a shortened link or flagged phrase that’s triggering carrier-side filtering independent of your registration status. Our guide to fixing GoHighLevel SMS delivery failures covers this diagnostic process in more depth if a test message still won’t go through after registration shows fully approved.
Quick reference: the full flow
1
Gather business details, EIN, privacy policy link
2
Submit Brand registration
3
Submit Campaign registration
4
Link campaign to your sending number
If you’d rather have this handled correctly the first time — including picking the right brand type, writing sample messages that won’t trigger a rejection, and making sure the final linking step actually happens — this is exactly the kind of setup work we do as part of onboarding new GoHighLevel sub-accounts, and a dedicated GoHighLevel VA can own it across every client. If 10DLC isn’t a fit for your sending pattern at all, compare toll-free vs. A2P 10DLC in GoHighLevel first. For a comparison of the Twilio-native version of this same process (relevant if you’re managing numbers outside GoHighLevel), see our Twilio A2P 10DLC step-by-step guide.
Questions that come up mid-registration
A few things people ask partway through this process, once they’ve hit a specific screen rather than reading the whole flow in advance:
“It’s been three days and my campaign still shows Pending — is that normal?” Yes, within the typical 1–5 business day window. It’s only worth actively investigating (contacting support, checking for a missed notification) once you’re past roughly a week with no status change.
“Can I start building SMS workflows before the campaign is approved?” Yes — you can build and test workflows using a personal test number or internal contacts, but any workflow step that sends to real US mobile numbers won’t successfully deliver until the campaign is approved and linked. Building the logic in parallel with registration, rather than waiting for approval to start building, is a reasonable way to avoid launch-day delays.
“Do I need to redo this if I switch from a monthly to an annual GoHighLevel plan, or upgrade my subscription tier?” No — A2P registration is tied to the sub-account and phone number, not your GoHighLevel subscription tier or billing cycle. Plan changes don’t affect an existing, approved registration.
“If I white-label GoHighLevel under my own brand for clients, does that change anything about A2P registration?” No — white-labeling GoHighLevel’s client portal changes the interface branding your clients see, not the underlying carrier registration requirements. Each client sub-account still needs its own accurately registered Brand and Campaign, regardless of what domain or logo the platform shows them.
Written by the Hireaghlva GoHighLevel team
We build and run GoHighLevel accounts, automations, dashboards, and websites for agencies and local businesses across the US and Canada. This guide reflects that hands-on work, with sources cited inline where we reference outside data. Last reviewed September 13, 2026.